If you’re interested in photography, learning how to use light is essential. Lighting shapes the overall feel and mood of your images, and understanding how to use light to support that mood is a key step toward becoming a stronger photographer. In this blog, I’ll deepen your understanding of natural lighting by exploring the beauty of natural light through practical photographic techniques.
Natural lighting is light created by the sun. It’s a powerful, effective way to produce different tones, contrast, mood, and color. When you learn to work with sunlight, you’re learning one of the most effective—and most affordable—light sources in photography.
Benefits of Shooting with Natural Light
It’s affordable
Natural light is free and powerful, which means there’s no need to purchase artificial lighting like strobes to get started.
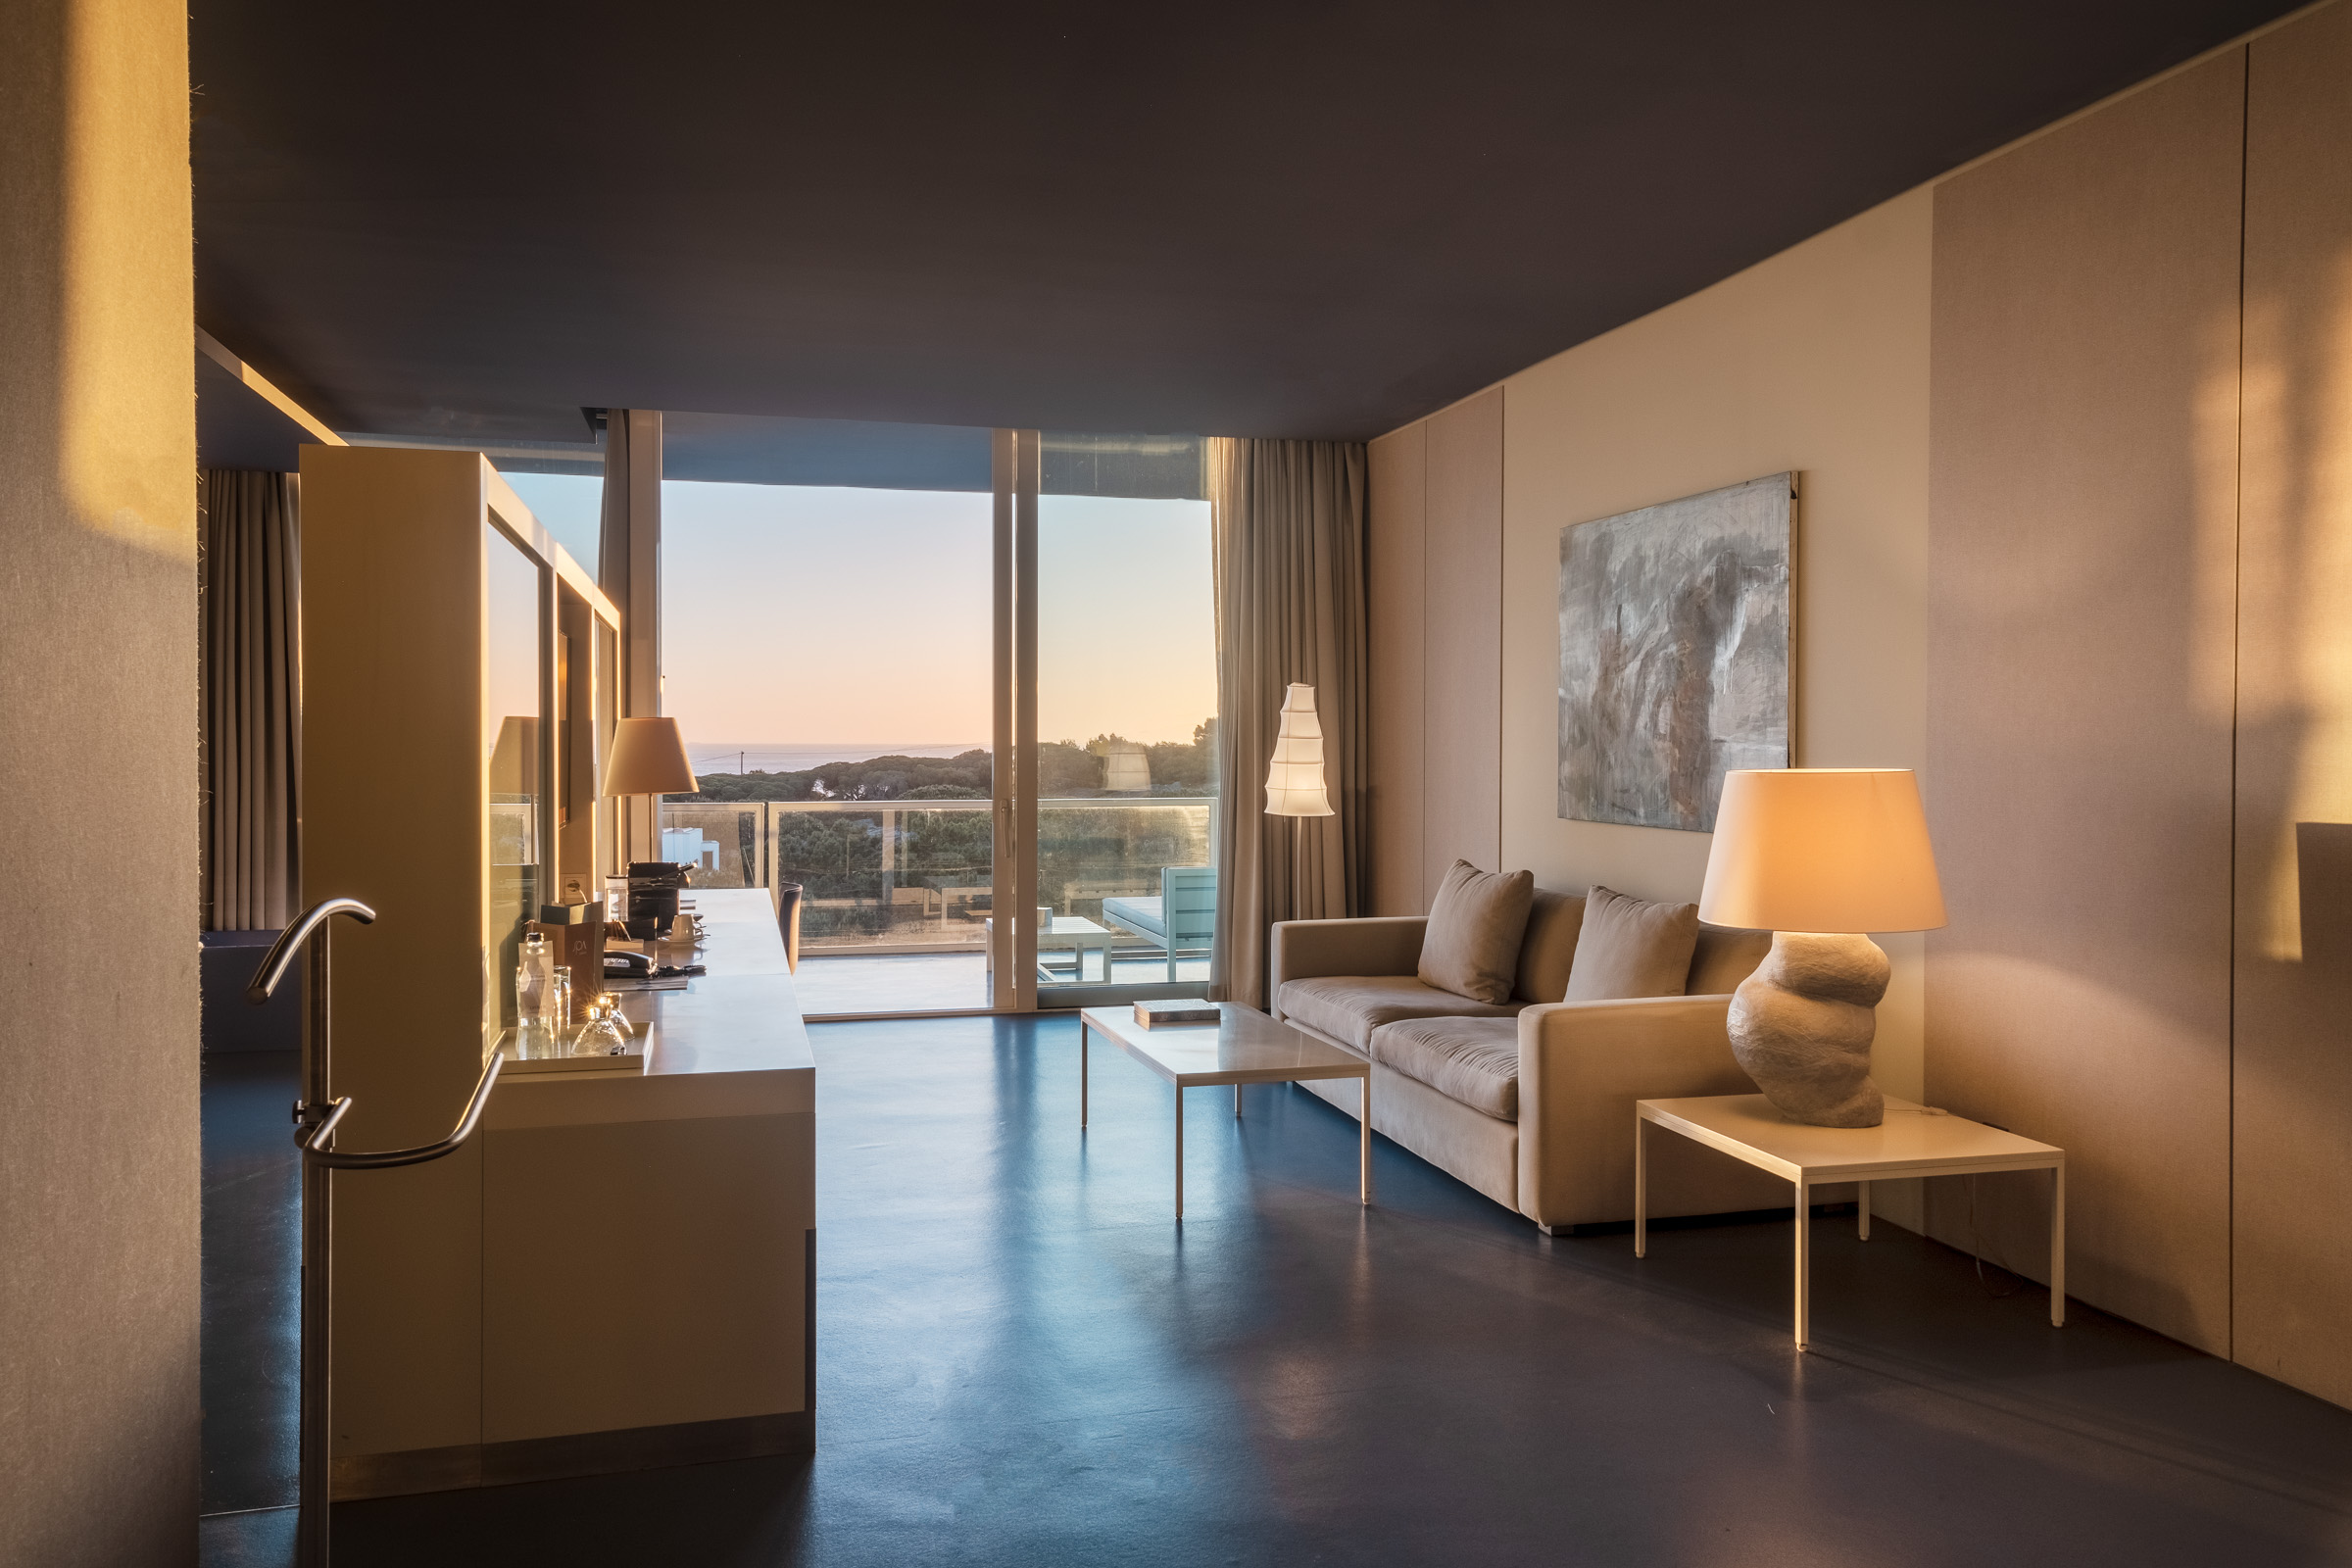
It works indoors and outdoors
Whether you’re shooting inside or outside, sunlight can enter a space through windows and help illuminate your subject. Windows can also act as a diffuser, creating softer light than harsh direct sun.
It offers variety
Depending on the time of day, sunlight changes dramatically—from bright, harsh midday light to the warm glow of golden hour before sunset.
It works for any type of photography
Natural light can be used in any genre, but it’s especially effective for landscape and portrait photography.
The Magic of Natural Light
Learning to use natural light to your advantage will make you a better photographer. It’s a great starting point for beginners and is widely used by professionals because sunlight comes in many qualities and characteristics. If you’re still in the early stages, it’s important to understand the exposure triangle (covered in a separate blog post).
Intensity
Intensity is the amount of light falling on your subject. More light means higher intensity. With natural light, intensity changes day to day. The most intense light is typically at noon on a clear day. Weather also plays a role—cloudy conditions create softer, more subtle light than bright sun.
Color Temperature
Color temperature changes throughout the day. Warm light and golden tones are common in the morning after sunrise and in the afternoon before sunset. At noon, when the sun is harshest, the light often appears cooler. Weather can shift color temperature as well.
Direction
As the sun moves, the direction of light on your subject changes. Indoors, south-facing rooms tend to have more consistent light throughout the day. For portraits in the afternoon, however, overhead sun can be unflattering and create strong shadows.
Quality of Light
Light quality depends on the style of photography and the mood you want to create. Soft, diffused light often produces warmer, more flattering images—common in the morning and around sunrise or sunset. Midday light tends to create harsher contrast, which can add a more dramatic feel.
Harnessing the Power of Golden Hour
Golden hour is one of the most useful natural lighting scenarios, especially for portrait photographers. It typically refers to the first hour after sunrise and the last hour before sunset. This light is soft, warm, and diffused, making it ideal for creating flattering, natural-looking images. Learning to use golden hour well is a valuable skill for any photographer.
Tips and Techniques for Golden Hour Photography
Plan your shoot
Whether you’re shooting for a client or working on a personal project, visit your location a few days in advance. Pay attention to when golden hour begins and the direction the light falls. This helps you visualize your shots and plan your timing.
Take plenty of photos and shoot in RAW
Shooting more frames gives you a wider range of options to choose from. It can also help if you need multiple exposures for HDR. Golden hour light changes quickly, so having variety matters.
Watch your dynamic range and exposure
It’s easy to overexpose highlights or underexpose shadows during golden hour. Taking multiple exposures can give you more flexibility later, including the option to blend images into an HDR result.
Use a fill light
A flash or a simple reflector can lift shadows and help create a more evenly lit scene.
Overcoming Challenges in Natural Light Photography
If you need to shoot at midday in harsh light, there are still ways to create strong images. For portraits, one option is to position yourself between the sun and your subject and have the subject face the sun. This can create more even light across the face. Another approach is to place the subject with their back to the sun and adjust exposure for the darker scene, which can help reduce harsh facial shadows. You can also look for shade—under a tree or beside a building—to soften the light.
Adapting to weather is another important skill, since we can’t control it. Cloudy days are often ideal because clouds diffuse sunlight, making it easier to shoot at any time of day without deep, harsh shadows. If clouds turn into rain, make the most of it—some of the most memorable photos happen in unexpected weather. If rain is possible, bring an umbrella just in case. Stormy skies may hide golden hour color, but they can also create dramatic scenes that photograph beautifully.
Natural light is available throughout the day, every day. It’s a reliable, flexible source that can elevate your images in any setting. The techniques in this post will help you create stronger photographs and adapt to the changing lighting conditions nature provides. Embrace natural light and explore its possibilities—it will make you a more confident, capable photographer.